Apron Flashing
A continuous piece of bent metal flashing installed at headwall junctions where a roof slope terminates at the base of a vertical wall, also used as the front base flashing at chimneys and skylights.
Specifications
| Profile | Single continuous bend, minimum 4-inch wall leg and 4-inch roof leg |
| Materials | Galvanized steel, aluminum, copper |
| Standard Lengths | 10-foot sections, overlapped 2 inches at joints |
| Gauge | 26-gauge galvanized steel or 0.019-inch aluminum |
Common issues
- Insufficient wall leg height allowing wind-driven rain to get behind the flashing
- Siding installed tight against the flashing without a drainage gap
- End dams missing at the termination points, letting water exit the sides
- Roof leg too short and not extending far enough under the shingle courses
Insurance relevance
Apron flashing failures at headwalls cause water to enter the wall assembly and can produce interior damage that mimics roof leaks. Adjusters must determine whether a headwall leak resulted from wind-driven rain overwhelming a properly installed apron flashing (a covered peril) or from a chronic installation deficiency such as a short wall leg or missing end dams. Proper documentation includes measuring the wall leg height and noting whether siding provides a drainage gap above the flashing.
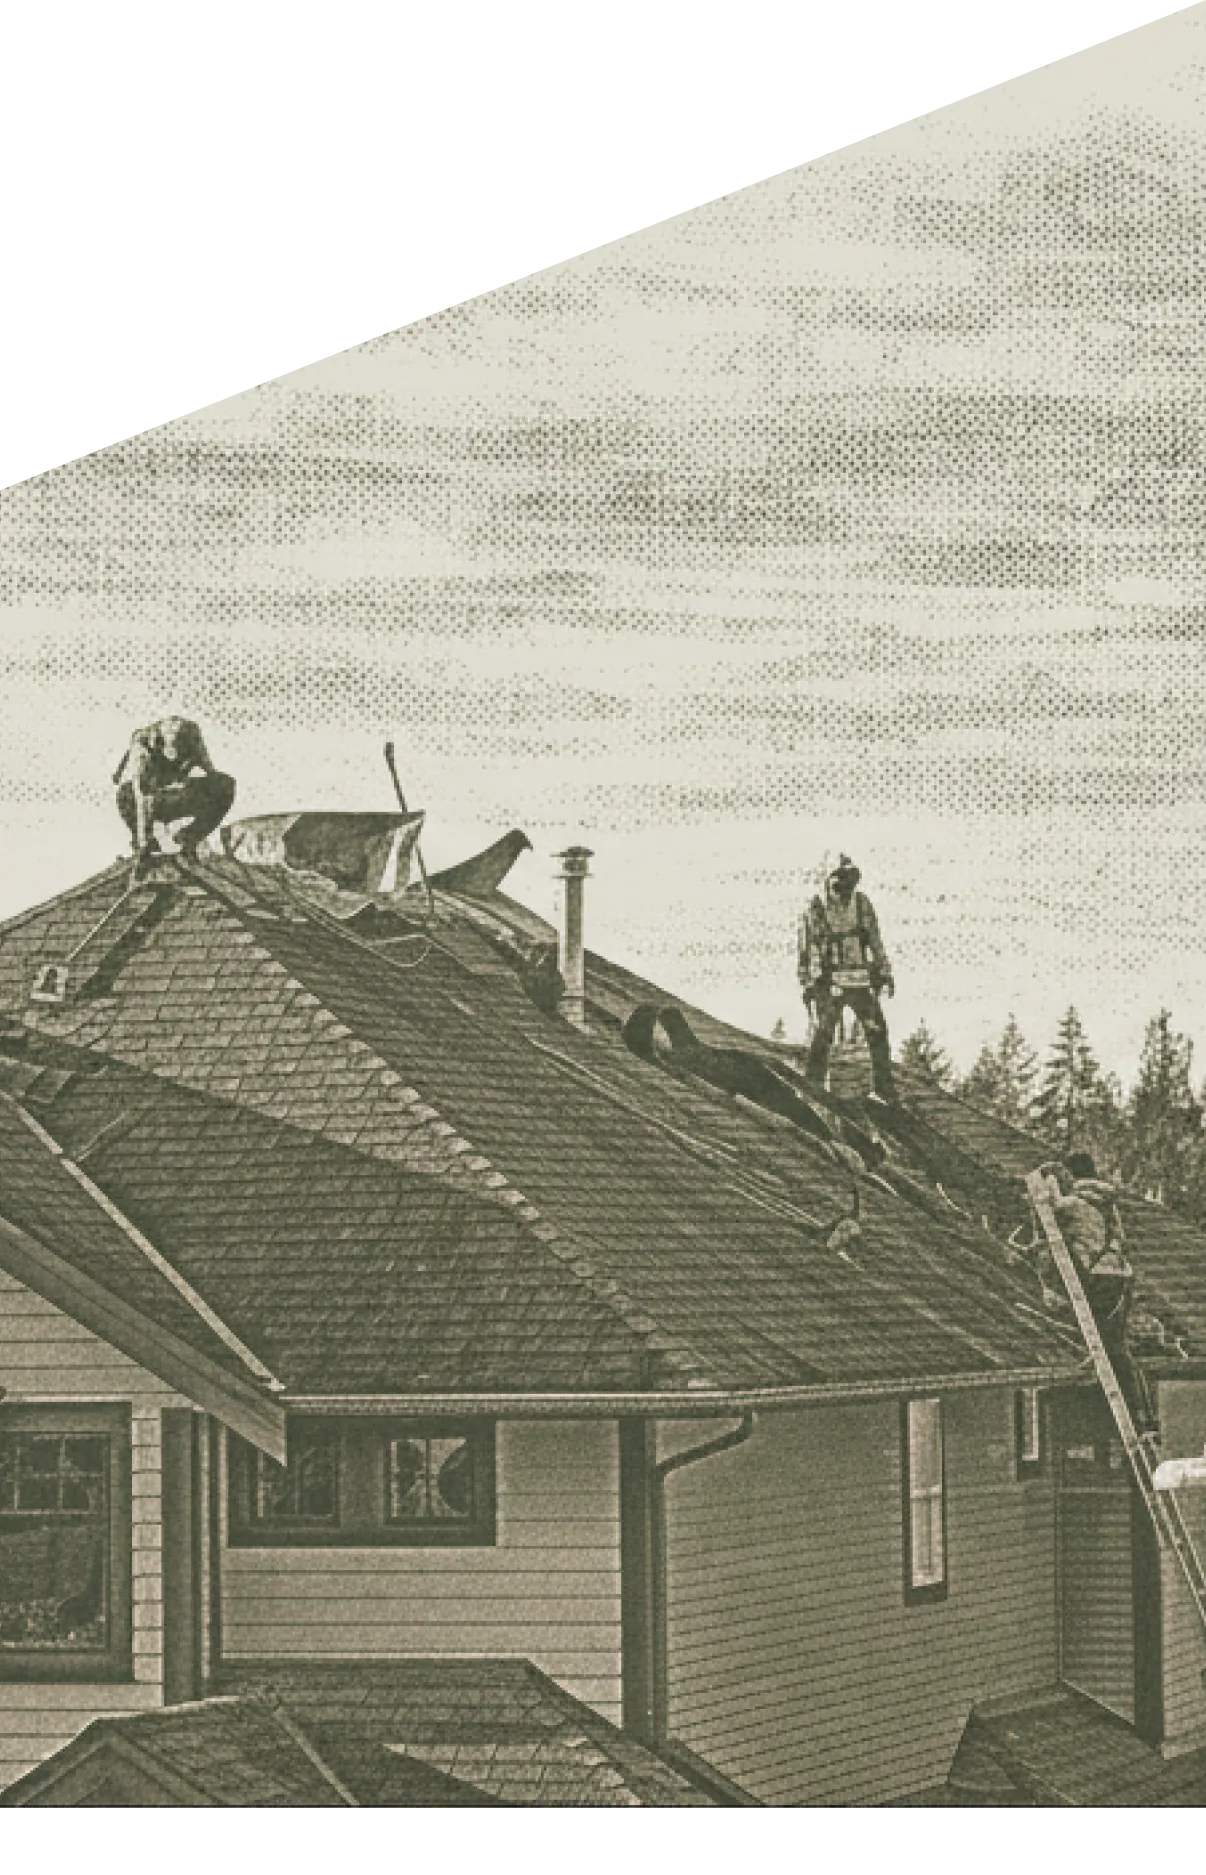
What Is Apron Flashing
Apron flashing is a continuous piece of bent metal installed at headwall junctions, where a sloped roof terminates at the base of a vertical wall above it. Unlike step flashing, which uses individual pieces at sidewalls, apron flashing spans the full width of the headwall in one or more overlapping sections. The metal is bent at a roughly 120-degree angle to conform to the roof-to-wall transition. One leg lies flat on the roof surface under the last shingle course, and the other leg turns up against the wall behind the siding or exterior cladding. Apron flashing is also the term used for the front base flashing piece at the downslope face of a chimney or skylight, where it serves the same function of redirecting water away from the vertical-to-roof joint.
Where Apron Flashing Is Installed
Apron flashing is required at every headwall condition on a roof. Common headwall locations include second-story walls that bear on a lower roof, clerestory walls, the front face of dormers, and any location where the roof slope runs directly into the bottom of a vertical surface. At chimneys, the front apron flashing is the first piece installed in the chimney flashing sequence. It extends under the upslope shingle courses and turns up the chimney face, with counter flashing later overlapping it from above. At skylights, the manufacturer-supplied flashing kit typically includes a bottom apron piece that integrates with the shingle courses below the skylight opening.
Installation Details
Proper apron flashing installation requires a minimum 4-inch wall leg and 4-inch roof leg. The roof leg is nailed through the upper portion where the next shingle course will cover the fasteners. The wall leg extends up behind the wall cladding with a minimum 1-inch gap between the bottom of the siding and the roof surface to allow drainage. Where two sections of apron flashing meet on a long headwall, the upslope section overlaps the downslope section by at least 2 inches. End dams at the termination points prevent water from flowing off the sides. Ice and water shield membrane behind the apron flashing on the roof deck provides a secondary waterproofing layer. The IRC requires flashing at all headwall conditions, and manufacturer installation instructions typically specify apron flashing as the required method.
Apron Flashing Failures and Insurance
Apron flashing failures typically manifest as water stains on the interior ceiling near headwall junctions. The most common cause is a wall leg that is too short, allowing wind-driven rain to get behind the flashing during storms. Siding installed tight against the flashing without a drainage gap traps moisture and accelerates rot. Missing end dams allow water to exit the flashing at the ends and enter the wall assembly. For insurance claims, the distinction between storm damage and installation deficiency determines coverage. A properly installed apron flashing overwhelmed by extreme wind-driven rain is a covered event. An apron flashing with a 2-inch wall leg instead of the required 4-inch minimum is an installation defect and a maintenance issue, not a storm loss.
Frequently asked questions
Apron flashing is a single continuous piece of bent metal used at headwall junctions, where the roof slope terminates at the base of a vertical wall. Step flashing uses individual L-shaped pieces woven into each shingle course at sidewall junctions, where the roof slope runs parallel to a vertical wall. The key distinction is that headwalls have one consistent elevation across the junction, so a single continuous piece works. Sidewalls have changing elevation at each shingle course, requiring individual stepped pieces.
Apron flashing should have a minimum 4-inch leg on the wall side and a minimum 4-inch leg on the roof side, for a total width of at least 8 inches before the bend. Many contractors use 5-inch or 6-inch legs for added protection, especially in areas with heavy rainfall or high wind exposure. The roof leg must extend far enough under the shingle courses that the fastener line is covered by the overlapping shingles.
Yes. At the termination points of an apron flashing run, the metal should be bent up to create a small dam that prevents water from exiting the side of the flashing. Without end dams, water running along the flashing channel can flow off the end and behind the adjacent siding or trim. End dams are particularly important on long headwall runs and at locations where the apron flashing transitions to a different flashing type.
Convert your PDF to ESX
Upload a PDF estimate. CapOut processes it and sends it directly to your Xactimate account.
Get started free