End Wall Flashing
Flashing installed where the upper end of a roof slope terminates at a vertical wall, also known as headwall flashing, using a continuous apron piece to redirect water away from the wall junction.
Specifications
| Also Called | Headwall flashing, headwall apron flashing |
| Profile | Continuous bent piece with minimum 4-inch wall leg and 4-inch roof leg |
| Materials | Galvanized steel, aluminum, copper |
| Underlayment | Ice and water shield recommended at the junction |
Common issues
- Wall leg too short to prevent wind-driven rain from getting behind the flashing
- No cant strip or diverter behind the flashing on low-slope headwalls, causing debris accumulation
- Siding nailed through the flashing wall leg, creating penetration points
- End dams missing at the termination points
Insurance relevance
End wall (headwall) flashing failures often produce concealed wall damage that is more expensive than the roof repair itself. Water that enters behind headwall flashing saturates wall sheathing and insulation. Adjusters should inspect both the roof and interior wall surfaces at headwall locations. If concealed damage is found during the roof replacement, a supplement for wall sheathing, insulation, and possible mold remediation may be necessary. Xactimate line items should include the flashing material and linear footage as well as any underlayment at the junction.
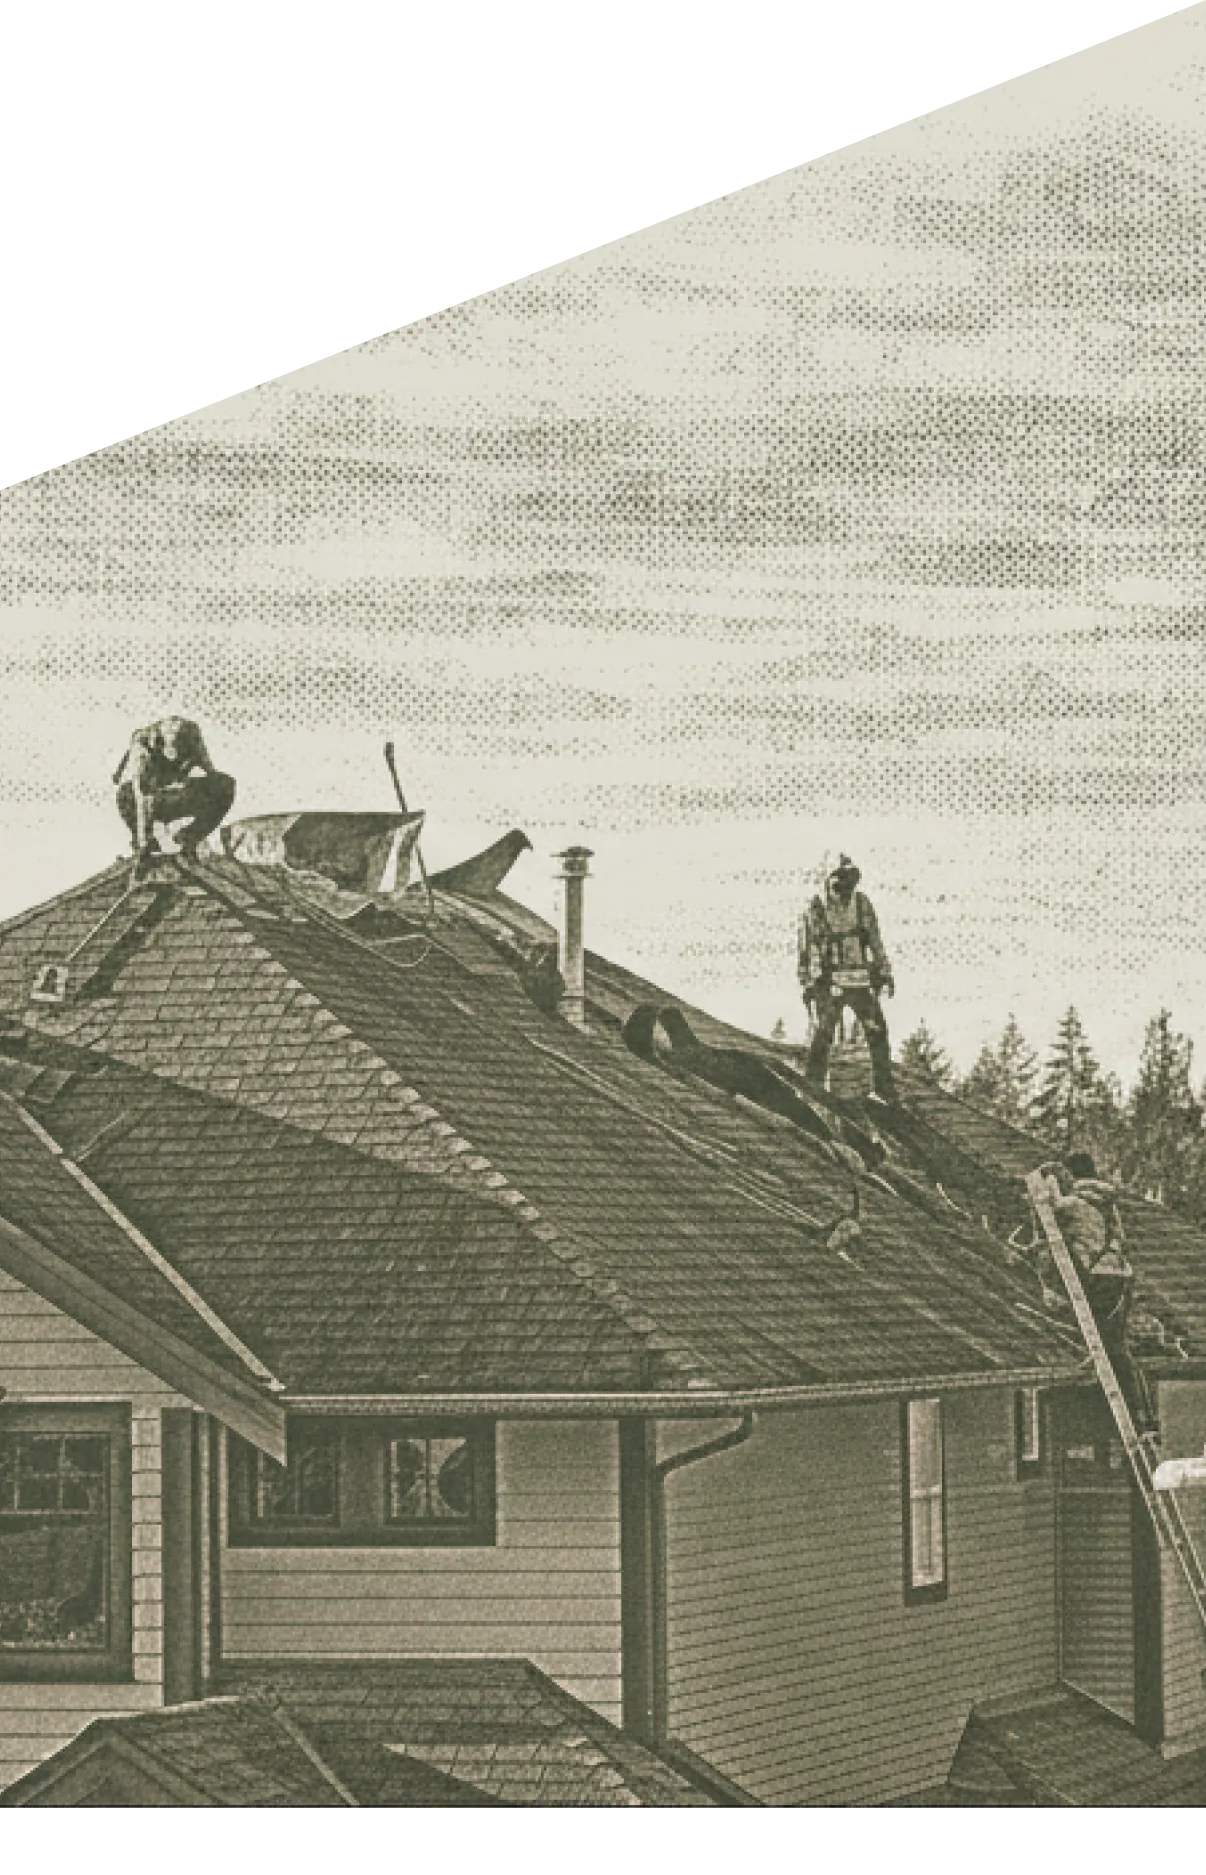
What Is End Wall Flashing
End wall flashing, more commonly called headwall flashing in roofing terminology, is the waterproofing detail at the junction where the upper end of a roof slope terminates at the base of a vertical wall. This is the opposite of a rake or gable condition. At a headwall, the roof plane runs directly into the wall, and the full volume of water flowing down the roof reaches the wall junction. End wall flashing uses a continuous apron piece bent to create a wall leg (minimum 4 inches up the wall) and a roof leg (minimum 4 inches under the shingles). The wall leg extends behind the siding, and the siding overlaps it from above. This detail is critical because the headwall receives concentrated water flow and is exposed to wind-driven rain that can push water up the roof surface and behind inadequate flashing.
Installation Requirements
The end wall flashing is installed after the underlayment is in place and before the final shingle courses at the headwall are laid. The roof leg is positioned on the underlayment and nailed through the upper portion where the last shingle course will cover the fasteners. Ice and water shield membrane is recommended on the roof deck at the headwall junction, extending at least 18 inches from the wall. The wall leg extends up behind the exterior cladding. On new construction, the siding is installed over the flashing wall leg with a drainage gap. On existing structures, the bottom course of siding may need to be removed and reinstalled over the flashing. Where the headwall has a low slope or is prone to debris accumulation, a cant strip (a triangular piece of wood or foam) can be placed behind the flashing to create a steeper angle that sheds water and debris more effectively.
Common End Wall Flashing Problems
The most frequent end wall flashing failure is an insufficient wall leg. A wall leg shorter than 4 inches allows wind-driven rain to get behind the flashing during storms, especially on lower-slope roofs where water velocity at the headwall is higher. Siding installed tight against the flashing without a drainage gap traps moisture between the siding and flashing, accelerating rot in the wall sheathing. Nails driven through the flashing wall leg to secure the siding create penetration points that leak. On headwalls with flat or low-slope approaches, debris accumulation at the junction can dam water against the wall. Missing end dams at the termination points of the flashing run allow water to exit the sides of the flashing and enter the wall assembly at the corners.
End Wall Flashing in Claims
End wall flashing damage is commonly found during roof inspections after wind events. The headwall junction is particularly vulnerable to wind-driven rain because the wall acts as a barrier that forces wind and rain upward, increasing water pressure at the flashing interface. Adjusters should inspect both the exterior flashing and the interior wall and ceiling at headwall locations for signs of water entry. Leaks at headwalls often cause damage to the wall cavity before they become visible on the interior surface, so concealed damage is common. Xactimate estimates for end wall flashing should include the flashing material and linear footage, any ice and water shield at the junction, and the re-installation of siding that was removed to access the flashing. If interior damage is discovered, those line items should be added as a supplement.
Frequently asked questions
End wall (headwall) flashing is used where the roof slope terminates at the base of a vertical wall, meaning the roof runs perpendicular into the wall. It uses a single continuous piece of apron flashing across the full junction width. Sidewall flashing is used where the roof slope runs parallel alongside a vertical wall. Sidewalls require individual step flashing pieces woven into each shingle course because the junction elevation changes at every course.
The wall leg of end wall flashing always extends up behind the siding. The siding overlaps the flashing from above, creating a shingle-like water-shedding pattern. There should be a gap of at least 1 inch between the bottom of the siding and the roof surface to allow drainage. The siding should never be nailed through the flashing, as this creates penetration points that leak. If the siding is pre-existing and cannot be removed, a Z-bar or drip cap can be installed over the top of the flashing wall leg to divert water.
On a metal roof, end wall flashing (endwall trim) is a formed piece that integrates with the metal panel profile. The roof-side leg is profiled to close over the panel ribs using butyl tape or foam closure strips. The wall-side leg is flat and extends up behind the siding. Because metal panels expand and contract with temperature, the fasteners on the roof side use slotted holes to allow movement. The endwall trim is typically manufactured from the same material and color as the metal panels for weather resistance and appearance.
Convert your PDF to ESX
Upload a PDF estimate. CapOut processes it and sends it directly to your Xactimate account.
Get started free