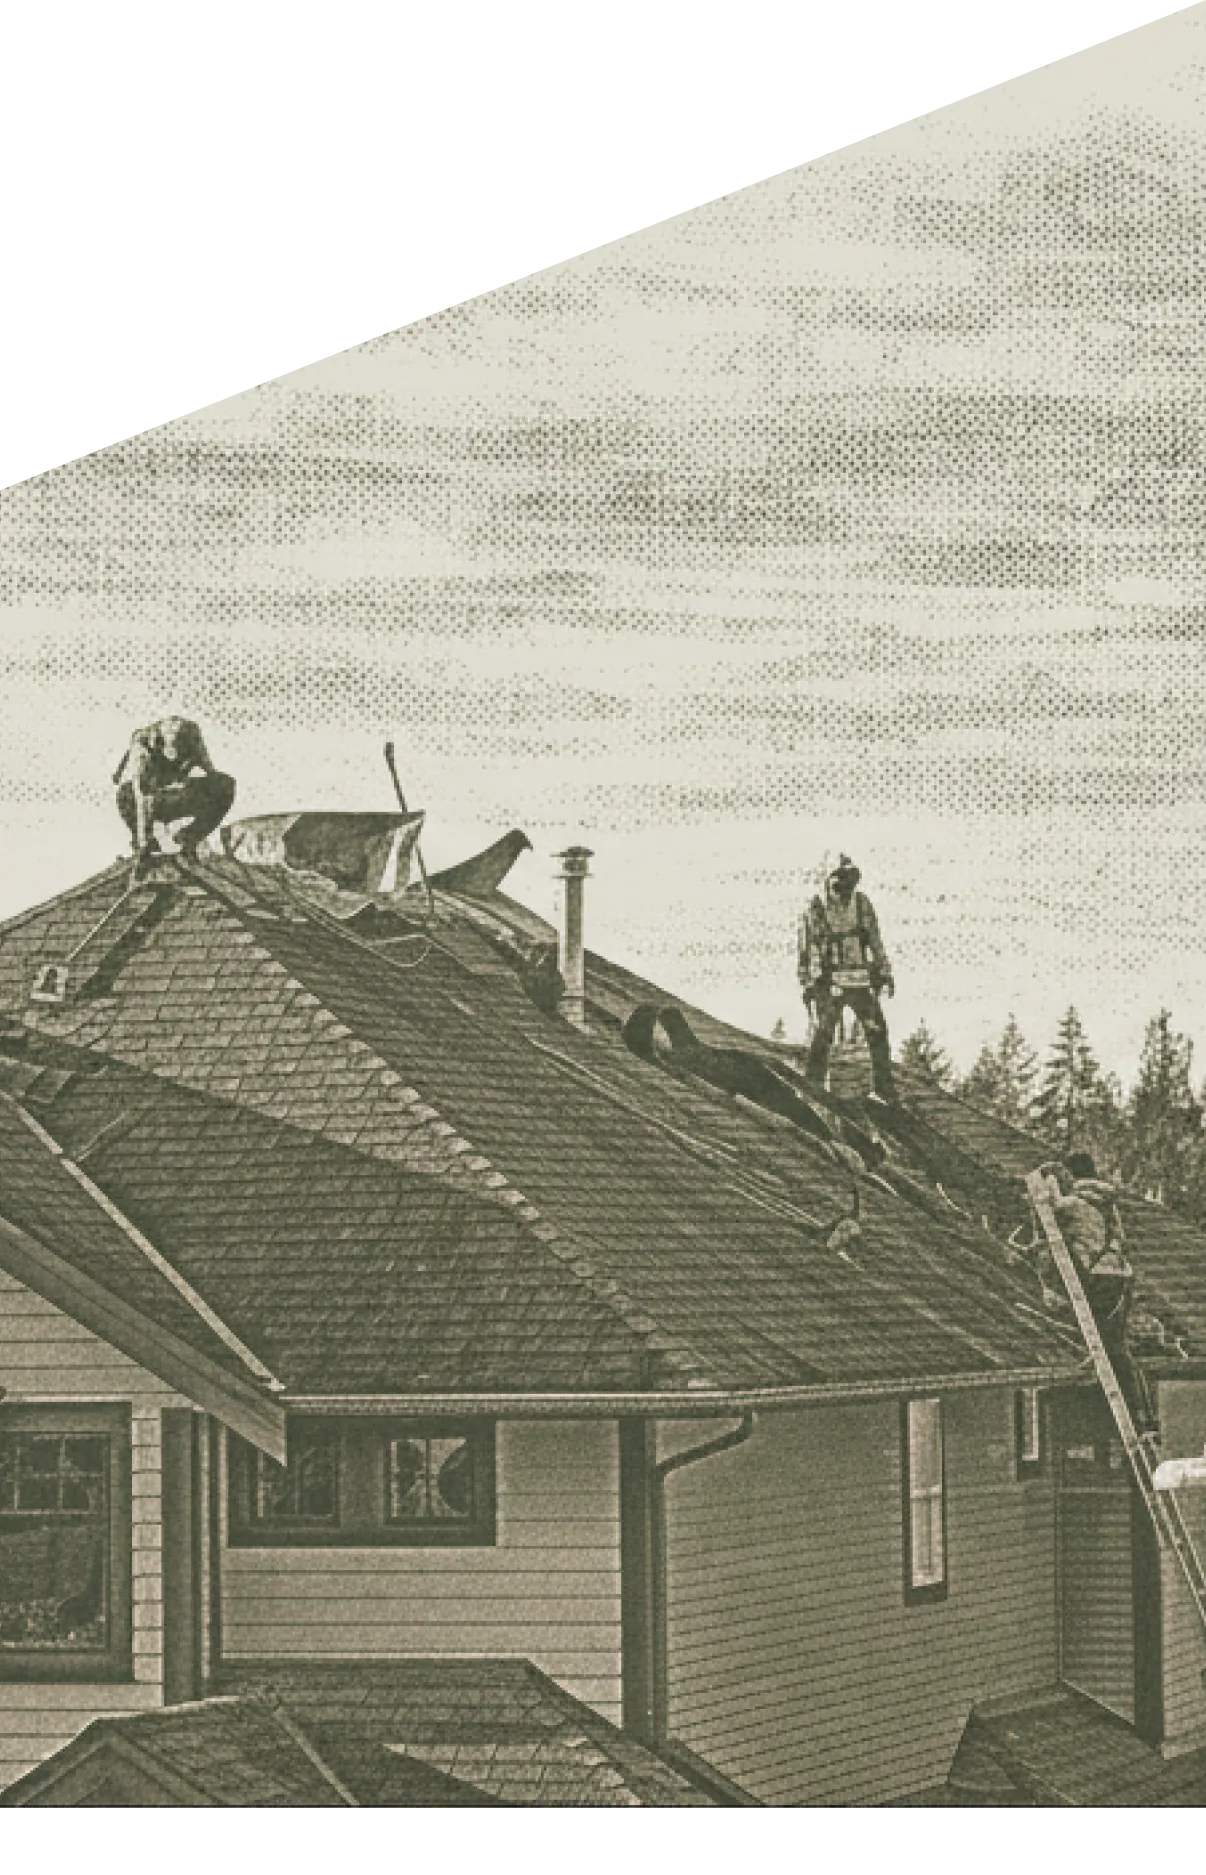
PDF to ESX: The Complete Guide to Converting PDFs to Xactimate
PDF to ESX conversion is the process of transforming a read-only PDF insurance estimate into an editable ESX file that Xactimate can open. There are three methods: requesting the ESX directly from the adjuster (free but unreliable), manually re-keying every line item into Xactimate (30 minutes to 4+ hours depending on estimate size), or using an automated conversion tool like CapOut (processing and export in seconds). The ESX file is required for writing supplements, verifying Sketch measurements, and submitting through XactAnalysis.
This guide covers every method for converting a PDF into a working ESX file, when each method makes sense, and how to verify the result.
Why You Need the ESX File (Not the PDF)
Before getting into the conversion process, let's be clear about why the ESX file matters. If you've been working insurance claims for a while, you know this. If you're newer to restoration, pay attention because this is fundamental.
PDFs Are Read-Only
A PDF estimate is a printout. It shows you the adjuster's line items, quantities, and totals, but you cannot edit anything. You can't add line items for missed damage. You can't correct a measurement. You can't toggle overhead and profit. You can't submit it back to the carrier through XactAnalysis.
The ESX file is the actual Xactimate project. It contains everything - line items, Sketch data, pricing database references, claim information, photos, notes - in an editable format. When you open an ESX file in Xactimate, you can do everything the original adjuster did: modify line items, update measurements, add scope, and resubmit.
Supplements Require the ESX
The supplement process works like this: you start with the adjuster's original estimate, add the line items they missed, document why those items are needed, and submit the amended estimate. In Xactimate, that means opening the original ESX file and building on top of it.
If you don't have the ESX, you have two choices: rebuild the entire estimate from scratch (re-keying every line item the adjuster already approved) or convert the PDF into an ESX file. One of these takes hours. The other takes minutes.
Line Item Verification Needs Structure
When you're reviewing the adjuster's estimate for accuracy, you need more than the PDF shows. In the ESX file, you can:
- Check which price list was used and when it was last updated
- See depreciation calculations per line item (not just the total)
- Verify waste factors on materials
- Examine category assignments to make sure line items are in the right trade groups
- Confirm Sketch dimensions match the property
- Check whether O&P was included or excluded
The PDF shows some of this information, but not all of it, and not in a format you can work with.
Method 1: Request the ESX from the Adjuster
The simplest approach is to ask the adjuster for the ESX file directly. This works sometimes. Here's the reality:
When It Works
- You have a good relationship with the adjuster
- The adjuster's workflow makes it easy to export and send ESX files
- The carrier doesn't have a policy against sharing ESX files with contractors
- The adjuster responds to emails in a reasonable timeframe
When It Doesn't Work
- The adjuster doesn't respond (common, especially during storm season)
- The carrier prohibits sharing ESX files with third parties
- The adjuster sends another PDF instead of the ESX (this happens more often than you'd think)
- You need the ESX now and can't wait days or weeks for a response
Always try asking first. If you get the ESX, great. If not, you have other options.
Method 2: Manual Re-Keying
Before automated tools existed, the only alternative to requesting the ESX was re-keying the entire estimate into Xactimate by hand. This means:
- Opening a new project in Xactimate
- Entering the claim information (insured name, policy number, date of loss, carrier)
- Building the Sketch from the dimensions shown in the PDF
- Entering every line item - category code, quantity, unit type, unit price
- Applying depreciation percentages per line item
- Setting the correct price list region and date
- Verifying totals match the original PDF
How Long This Takes
On a simple residential claim with 20-30 line items and a straightforward floor plan, expect 30-45 minutes of careful data entry. On a large loss - multi-story, multiple rooms, interior and exterior damage, 100+ line items - you're looking at 2-4 hours. And that's if you don't make any typos.
The Risk
Every manual keystroke is a chance for error. Transpose two digits in a quantity and your line item total is wrong. Miss a line item and your supplement baseline is off. Enter the wrong category code and the pricing won't match. These errors compound, and they can cause problems when you submit your supplement and the carrier compares it to their original.
When Manual Makes Sense
For very small estimates (under 10 line items), manual re-keying might be faster than firing up a conversion tool. But for anything beyond a minor claim, the time and error risk make manual entry the least efficient option.
Method 3: Automated PDF to ESX Conversion
Automated conversion tools use AI and machine learning to read the PDF, extract the structured data, and generate an ESX file. This is the fastest method and the one most contractors are moving toward.
How It Works
The process with a tool like CapOut is straightforward:
- Upload the PDF. Drag and drop the insurance PDF estimate into the tool.
- AI processes the document. The system reads the PDF, identifies line items, quantities, pricing, claim information, and structural data. Processing takes seconds.
- Converted estimate arrives in Xactimate. Click export, enter your XactNet address, and the estimate shows up in your Xactimate account. No file to download or upload.
- Review in Xactimate. Open the ESX, verify the line items match the source PDF, and start working.
No manual data entry. No re-keying. And the conversion is just the starting point. From the same upload, CapOut generates a full profit breakdown by trade, context-aware material orders, and labor orders loaded per crew. If an adjuster denies a line item, the AI Claim Assistant writes documented, cited responses pulling from 50,000+ adjuster emails, manufacturer specs, and building codes.
What Gets Captured
A well-built conversion tool captures:
- All line items with category codes, descriptions, quantities, and unit prices
- Claim header information (insured name, claim number, date of loss)
- Price list references
- Depreciation data
- RCV and ACV totals
- Trade group and category assignments
What Might Not Transfer
Some data that exists in the original ESX file is not visible in the PDF, so it can't be captured during conversion:
- Full Sketch geometry (the PDF shows a flattened image of the Sketch, not the editable vector data)
- Photos attached to the original estimate
- Internal adjuster notes that weren't included in the PDF output
- Custom macros or templates the original estimator used
This is why conversion gives you a working starting point, not a perfect mirror of the original ESX. You still need to review and may need to rebuild the Sketch from field measurements.
Verifying a Converted ESX File
Whether you converted the PDF using an automated tool or re-keyed it by hand, verification is essential. Here's the checklist:
1. Total Comparison
Open the converted ESX in Xactimate and compare the total to the PDF. They should match. If there's a discrepancy, dig into the line items to find where the numbers diverge. Common culprits: rounding differences, line items that didn't convert, or depreciation calculations that don't match.
2. Line Item Spot Check
Pick 5-10 line items at random and compare them between the PDF and the ESX. Verify:
- Category code matches
- Description matches
- Quantity matches
- Unit price matches
- Total per line item matches
If the spot check looks good across 5-10 items, the conversion was likely clean.
3. Trade Group Review
Check that line items are assigned to the correct trade groups. If roofing line items ended up in the interior category, your supplement organization will be confusing to the carrier's adjuster who reviews it.
4. Depreciation Validation
If the PDF shows depreciation per line item, verify that the ESX file's depreciation percentages and amounts match. Depreciation affects the ACV payout, and if your converted file shows different depreciation than the original, it could create confusion during the supplement process.
5. O&P Status
Check whether overhead and profit was included in the original estimate and whether the converted ESX file reflects the same. O&P on or off changes the total significantly, and a mismatch here means your supplement baseline is wrong.
6. Price List Match
Verify the price list region and date in the converted ESX matches the original. If the adjuster used a January 2026 price list for your region and the converted file defaulted to a different date or region, line item prices may not match.
The Supplement Workflow After Conversion
Once you have a verified ESX file, here's the typical supplement workflow:
- Open the ESX in Xactimate. This is now your baseline - the adjuster's approved scope.
- Inspect the property. Walk the job site and document everything the adjuster missed. Take photos. Measure. Note damage the adjuster didn't include.
- Add line items. In Xactimate, add the line items for the missed scope. Use the same price list and region the adjuster used.
- Document your additions. For every line item you add, have supporting documentation: photos, measurements, building code references, manufacturer specs.
- Include O&P if applicable. If the scope of loss involves multiple trades and a GC is needed, make sure overhead and profit is toggled on.
- Submit the supplement. Export the updated ESX and submit through XactAnalysis or email it to the adjuster with your documentation package.
Side-by-Side: Conversion Methods Compared
| Request ESX from Adjuster | Manual Re-Keying | Automated Conversion (CapOut) | |
|---|---|---|---|
| Time | Minutes to weeks (depends on response) | 30 min to 4+ hours | Seconds |
| Cost | Free | Your labor time | Subscription or per-use fee |
| Accuracy | Exact original file | Depends on your accuracy | High for line items and pricing |
| Sketch data | Full original Sketch | You rebuild from measurements | Limited (depends on PDF content) |
| Reliability | Inconsistent (adjuster may not respond) | Consistent but slow | Consistent and fast |
| Error risk | None (original file) | High (manual entry errors) | Low (verify against source PDF) |
| Best for | When you have a responsive adjuster | Very small estimates (under 10 items) | Everything else |
Common Questions About the Conversion Process
Do All PDFs Convert the Same Way?
No. The quality of the conversion depends on the quality of the source PDF. Clean, well-formatted PDFs from standard Xactimate exports convert very well. PDFs that have been scanned from paper copies, heavily annotated, or generated by non-Xactimate software may have lower conversion accuracy. Always verify the output.
Can I Convert PDFs from Any Carrier?
Yes. The conversion process reads the data in the PDF regardless of which carrier generated it. State Farm, Allstate, Travelers, USAA - the Xactimate PDF format is standardized across carriers because they all use the same software.
What About Handwritten Estimates?
Handwritten or manually created estimates (not generated by Xactimate) are a different challenge. Automated conversion tools are optimized for machine-generated PDFs with structured data. A handwritten estimate or a contractor bid in a non-standard format may not convert cleanly and might require manual entry.
Is the Converted File Legally the Same as the Original ESX?
The converted ESX file is a reproduction of the data in the PDF, not the original file from the adjuster's system. For supplement purposes, this is fine - you're using it as a baseline to build on. If there's ever a legal dispute about what the adjuster's original estimate contained, the original file from XactNet or XactAnalysis is the authoritative version.
Getting Started
If you're converting PDFs to ESX files regularly, the manual re-keying approach is costing you hours every week. Those hours add up to significant labor cost over a month or a year.
CapOut is free to start with 300 tokens and no credit card required so you can test the full platform on your own PDFs. Upload a PDF, and the converted estimate lands in your Xactimate account. From the same upload, you get a trade-level profit breakdown, context-aware material and labor orders, and access to the AI Claim Assistant for disputing denied line items with cited documentation. Open the ESX in Xactimate and compare it to the source. If it saves you time and the accuracy meets your standards, you'll know whether it fits your workflow.
The goal is simple: spend less time on data entry and more time on the work that actually moves claims forward. Inspections, scope verification, supplement writing, production planning, and getting your clients paid what they're owed.
Related Guides
About the author
Matt FrugeFounder & CEO, CapOut
Matt Fruge is the Founder and CEO of CapOut. Before CapOut he spent 15+ years running Roofmark Construction in Dallas-Fort Worth and lived the exact pain his product solves: re-keying Xactimate estimates while jobs sat waiting. U.S. Navy veteran. Based in Fort Worth, Texas.
More from MattFrequently asked questions
PDF to ESX refers to the process of converting a PDF insurance estimate (the flat, non-editable document adjusters often send to contractors) into an ESX file - the native Xactimate project format. The ESX file can be opened in Xactimate for editing, supplement writing, and resubmission to the carrier.
A PDF is a snapshot - you can read it, but you can't edit it in Xactimate. If you need to write a supplement, verify line items, check the Sketch measurements, or resubmit the estimate through XactAnalysis, you need the ESX file. The PDF doesn't contain the structured data Xactimate needs to open it as an editable project.
It depends on the size of the estimate. A simple estimate with 20-30 line items might take 30-45 minutes to re-key into Xactimate. A large loss with 100+ line items, multiple rooms, and detailed Sketch data can take 2-4 hours or more. Every line item, quantity, unit, and price has to be entered manually, and any typo creates a discrepancy that could cause problems in the supplement process.
Automated tools like CapOut use AI to read the PDF, identify the structured data (line items, quantities, pricing, claim info), and send the converted estimate directly to your Xactimate account. You upload the PDF, the processing takes seconds, and the export shows up in your Xactimate account shortly after. From the same upload, CapOut also generates a trade-level profit breakdown, context-aware material and labor orders, and gives you access to an AI Claim Assistant for disputing denied line items with documented, cited responses. You then open the ESX in Xactimate to review and verify before using it for supplements or resubmission.
A converted ESX file captures the line items, quantities, and pricing from the PDF. However, some data that exists in the original ESX but isn't visible in the PDF - like internal notes, certain Sketch details, or photo attachments - won't be in the converted file. The line items and financial data are typically accurate, but you should always review the converted file against the source PDF before relying on it.
Yes, and it's worth trying. Some adjusters will send the ESX file if you ask. Others won't, either because their workflow doesn't support it, their company policy prohibits it, or they simply don't respond. If the adjuster sends the ESX, that's the cleanest option. If they don't, conversion tools give you a way to get the data you need without waiting.
Yes, you need an active Xactimate subscription (desktop or online). CapOut converts the PDF and sends the result directly to your Xactimate account, but Xactimate is where you open and work with it. For supplement writing and carrier submission, Xactimate is required.
Continue reading
Get insurance restoration insights
Practical tips on Xactimate, supplements, and estimating workflows. No spam.
Related glossary terms
Convert your first PDF to ESX free
Upload a PDF estimate and get a production-ready ESX file in under a minute.
Get Started Free